
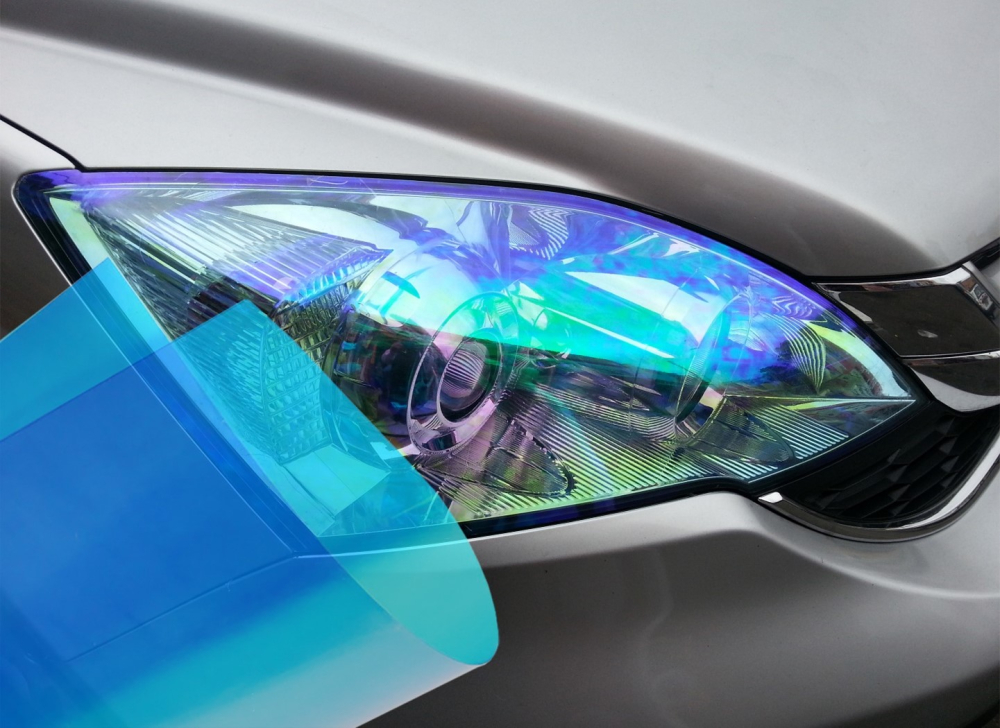
Headlight film
Graphictac’s OpTint is the optimum and most advanced tint vinyl on the market to protect the vehicle lights turning cloudy from sunlight UV, creating a unique look with different color shade, also safeguarding the headlamps from stone chips and scratches. When the vinyl is warmed by a heat gun, it becomes pliable to stretch and conform to compound curves on modern day headlight. Our game changers are the stretchable cap sheet that stretches in sync with the tint film to fit any curve, remove only after installation to protect the film integrity, it also features EzWrap technology for an incredibly effortless dry application, combining a low-tack / slow-rise adhesive with MicroFlo air egress liner to offer a speedy & flowy-installing experience.


- Ultra glossy finish protected by stretch-synched cap sheet (removed only after installation)
- EzWrap technology comprised of low-tack / slow-rise adhesive with MicroFlo air egress PET liner to allow easy repositioning and a speedy & flowy-installing experience.
- PET release liner to ensure brilliant color vibrancy and clarity.

|
Product code & Color |
OpTint series available in 22 colors |
|---|---|
|
Face Film Thickness |
3.2mils (80µm) ±5% high quality calendered vinyl with 50µm stretch-synched / anti-scratch PE cap sheet. |
|
Adhesive |
Clear acrylic, low-tack / slow-rise repositionable, non-residue adhesive. |
|
Release liner |
75µm ±5% PET release liner w/MicroFlo air egress technology. |
|
Printer compatibility |
N/A |
|
Durability |
Up to 3 years outdoor depending on exposure angle and climate condition |
|
Roll width |
54" (=1,370mm) |
|
Roll length |
164' (=50 meters) or custom length upon request |
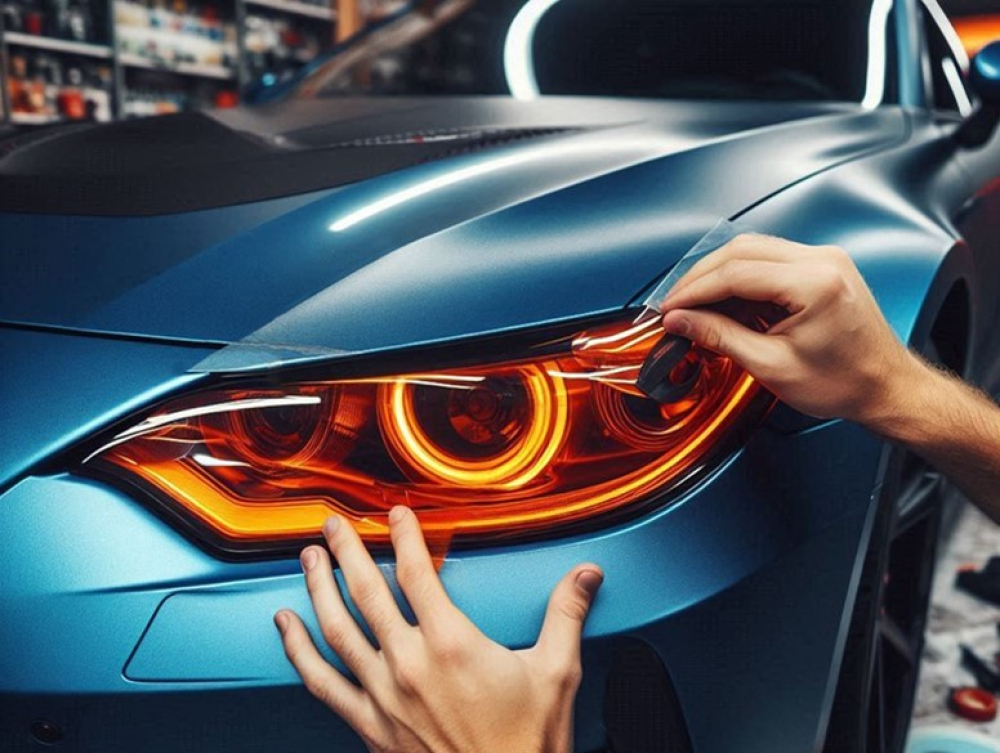
Headlight installation steps:
Step 1. Inspecting the lenses carefully for micro-cracks caused by aging, minor collisions, or using the wrong bulbs that overheat the casing, and micro-cracks can cause the film to bubble. Clean the surface thoroughly to remove any grease, wax and other contaminants, if surface is not completely smooth, use a clay bar to remove the stubborn bits.
Step 2. Measuring and ensuring excess 4~6 inches of material around the lenses for easier handling.
Step 3. Once material has been installed and cut, go over the edges with a heat gun to get rid of the stress in the film from stretching, finally, remove the stretch-synched cap sheet.