
Vehicle wrap is a great way to customize your car for self-expression or branding purpose, it offers endless possibilities from vibrant graphics to different color options, however, wrapping requires the right tools and techniques, as well as patience and attention to details to achieve the desired look, below is a step-by-step guide on the application and removal of car wrap:
- Preparing your vehicle by first cleaning the surface with soap and water to remove dirt, grease and wax, and dry thoroughly with a clean and lint-free cloth to remove all moisture. Then inspect the surface to ensure all scratches, dents or rust spots are dealt with before applying the wrap to ensure a smooth and even surface.
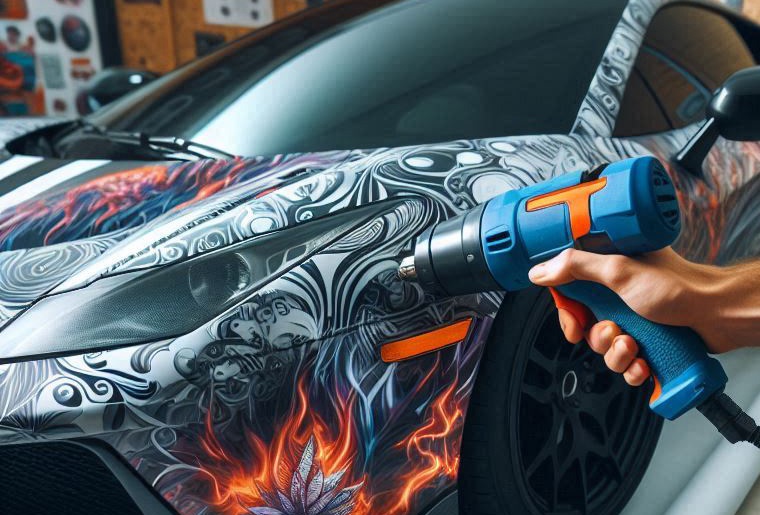
- Measuring the area of vehicle to wrap, and cut the vinyl to the correct size, make sure to leave a slight overlap for trimming later. Then carefully peel off the backing and position the adhesive side onto the surface of vehicle, starting from one edge to work across it, using a squeegee or applicating tool to rid of air bubbles and ensure firm adherence to the surface. For curved or contoured area, use a heat gun or hairdryer to gently heat the vinyl during application for stretching and conforming to the shape, then trim off any excess material for seamless finish. If final inspection found remaining air bubbles, use a pin or needle to puncture the trapped air and smooth it out with a squeegee.
Removal of wraps
Use a heat gun or hairdryer to heat the wrap evenly, starting from one edge to work across it, the heat will soften the adhesive to make the vinyl easier to peel off. Pull it gently away from the vehicle, ensuring not to damage the paint or leave behind glue residue, if residue remains, use a commercial adhesive remover or rubbing alcohol for a clean removal, then wash the vehicle with soap and water.